This is the quickstart guide you need to generate an industrial grade embedded system for the board sitting on your desk and be ready to work with it. Embedded Linux development is a vast domain and there are plenty of documentation out there to help you with all necessary details but do not hesitate to as questions in the comment section.
Build a complete embedded system using Buidroot
Buildroot and Yocto are Embedded Linux most important tools. You could compare them to embedded Linux distributions, but as you will find out, they are much more than this.
For this blog post we use Buildroot, at Openest we think it is easyer to use and much quicker to set up. If you prefer Yocto, let us know in the comments we likely update this article later.
Let’s clone Buildroot source code and jump into its sources:
git clone git://git.buildroot.net/buildroot
cd buildroot
git tag
[...]
Look at the latest tag available (currently it is 2019.11) and checkout it.
git checkout <latest_stable_tag>Now we want to find your embedded Linux board support package within the “board” directory. It is sorted by board manufacturer so it is relatively easy to find your own. For the rest of this tutorial we will use the Beaglebone Black aka beagleboard, it can be found in “board/beaglebone” directory. From there I suggest you to read the readme.txt you will find in this directory.
Now, apply the corresponding configuration and build your system:
make beaglebone_defconfig
make
In the case you have a Raspberry-Pi 4, simply run:
make raspberry4_defconfig
make
Now you will have to wait about 30 minutes ( it takes longer the first time), Buildroot will download and compile all the necessary software. Now you can jump to the next step.
Wait ! I can not find my board into the “board” directory.
Ok, this is bad luck, it means it is not (yet?) supported within Buildroot. If it is a fully custom board or a really rare one this is not surprising. In such case I suggest you to find a a board with the same microprocessor:
cd configs
grep -inr "imx6" .
This will give you some boards with the same CPU, find one that is similar to yours. Use it as a base to create your own board/ and config/ updated to your precise needs.
Boot your Linux embedded system
At the end of the compilation process you will find the most usefull files in the output/images directory:
ls output/images
am335x-boneblack.dtb  am335x-evm.dtb    MLO          rootfs.tar  uEnv.txt
am335x-bone.dtb       am335x-evmsk.dtb  rootfs.ext2  sdcard.img  zImage
am335x-bonegreen.dtb  boot.vfat         u-boot.img
What are all the files in output/images ? Well, there would be a lot to say. Often you will find:
- dtb: (device tree binary) files: they are generated from dts files: basically they describe the hardware to Linux, tell it where to find the various component present on a PCB and what registers and what drivers to use
- zImage: the Linux binary image, zImage a binary image format but there are other formats such as uImage
- u-boot.img: is a bootloader binary image, usually we use U-Boot. It initialize some components (usually DDR, sdcard controller, often ethernet network too).
- rootfs.ext2: the root filesystem: the partition where Linux will expect to find all the necessary files.
- An sdcard.img a ready to use image that can be flashed to an SDcard
In the case of the Beaglebone Black, you will also find a MLO file. The MLO is the early boot program, it makes basic initialization and then starts U-Boot.
How to start the board:
Insert a microsd to your PC, check its name with dmesg and flash the generated image using DD.
sudo dd if=output/images/sdcard.img of=/dev/mmcblk0 bs=2M
sync
Warning! Double check the destination device, especially ensure it is not sda, sdb: you could absolutely erase your PC hard drive.
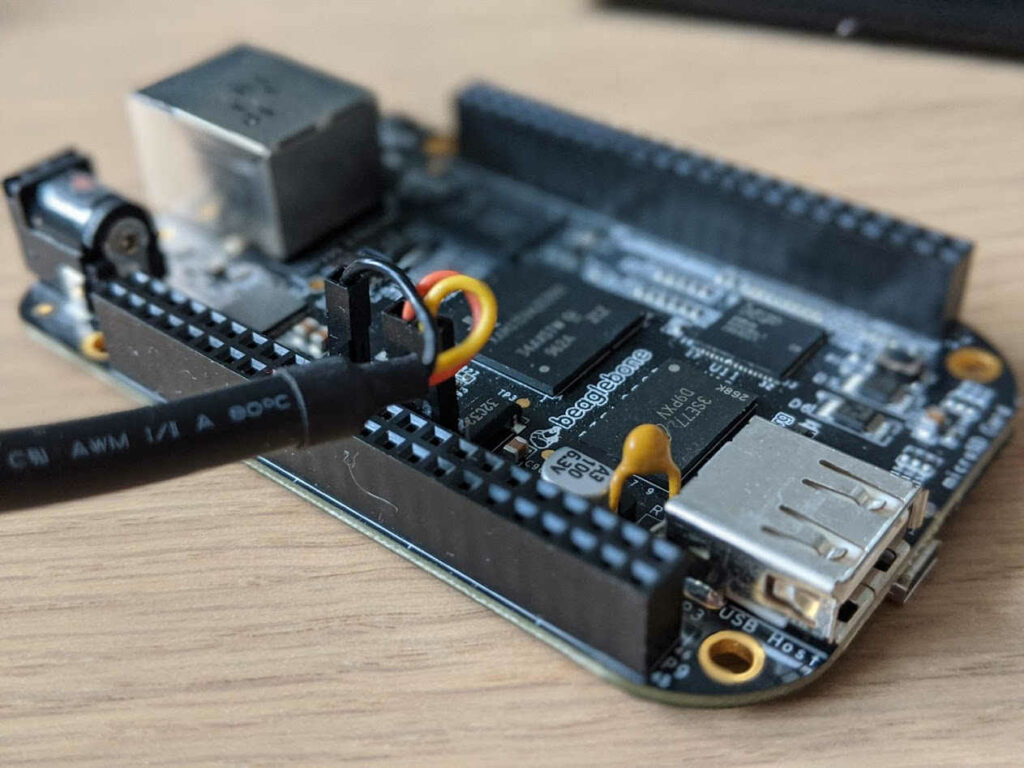
Now, insert the SDcard on the Beaglebone Black and plug the Power Supply. You will see it boot on your console through the UART. you can now login into buildroot. The default user is root.
Install additional software to your root Filesystem
Buildroot does not only support dozen of hardware boards. It contains more that 2300 well maintained packages. The term package is not exactly true, in fact we should say compilation recipes. Anyway you can add new packages to your rootfs, on you PC go back to Buildroot main directory:
make menuconfigThis will open a graphical interface:
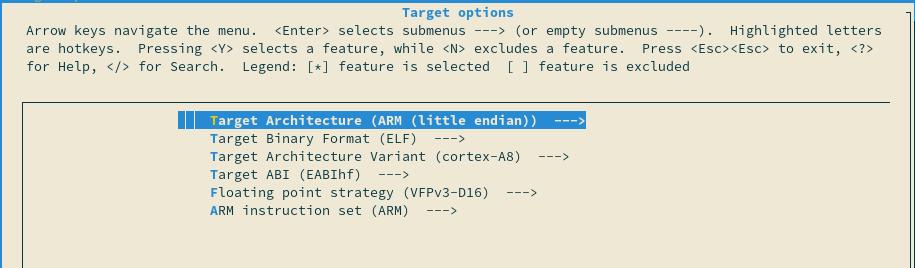
From the main menu you can explore the available embedded softwares, go into the “Target Packages” section:
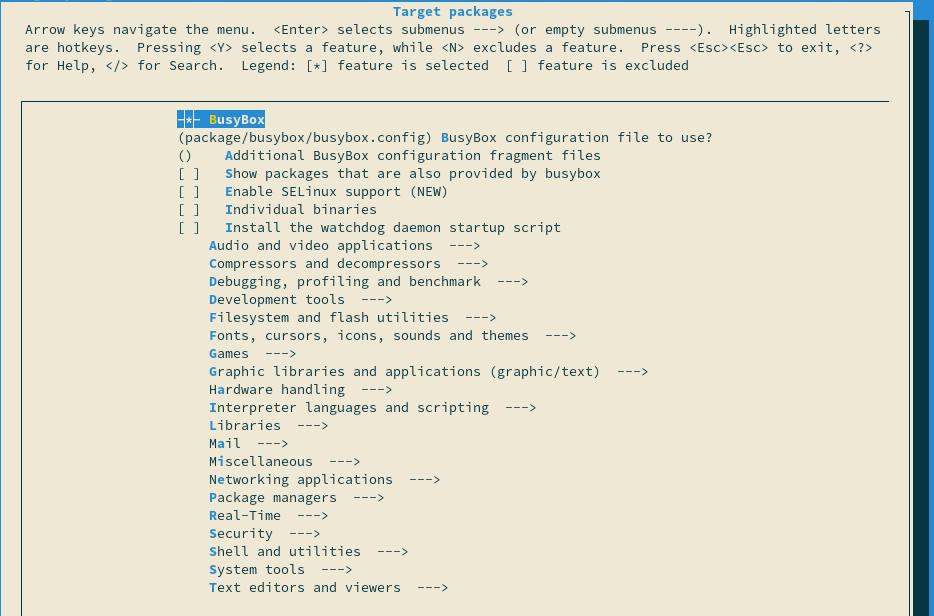
If you now what to look for simply type “/” and enter the name of the application or library you are looking for.
Once you are done, press escape, save the new configuration and re-run make once you are back on your console.
Develop your own embedded application
The great thing with embedded Linux development is that you can use any language, from Java to Go or even javascript. Of course you must take care of the available resources on you board but nowadays we see plenty of nodeJS or Python software running on embedded system. So you can choose your favourite one or keep your legacy software and port them to an embedded platform.
The development process may vary depending on your project, but you can easily start developing on any Linux PC and take care of the hardware specific aspects later.
For non compiled languages, simply install the necessary tool with the make menuconfig menu. Then jump to the next section.
For compiled languages, such as C or C++ you could directly install a compiler on your embedded system but it would not be efficient. Instead you can use a Cross toolchain: a cross toolchain compiles software for a different architecture, in our case we will compile ARM code on a PC.
Where is the Buildroot cross compilation toolchain ? When we generated our filesystem, Buildroot also compiled its own toolchain. From Buildroot’s main directory you can find it in output/host :
ls output/host/
arm-buildroot-linux-uclibcgnueabihf  bin  etc  include  lib  lib64  libexec  sbin  share  usr
output/host is where Buildroot puts all the files needed for the host system ( your PC) to generate the target system (your board). You will find gcc and all its related tools in the bin directory.
The compiler isn’t everything. You likely want to link your program with libraries the libraries of your embedded system. They are located in output/target:
ls output/target/
bin  etc  lib32    media  opt   root  sbin  THIS_IS_NOT_YOUR_ROOT_FILESYSTEM  usr
dev  lib  linuxrc  mnt    proc  run   sys   tmp                               var
It contains all the files installed on your target system including the binaries of your libraries and programs. You can add those path to the “-L” option to your gcc command line to ensure you can link with these programs.
Headers files are not installed in the target directory, instead you will find them in output/build/<name_of_the_library>.
Deploy your software to your embedded device
When you develop a program you want to test it very often. Therefore you need to an efficient workflow that allows you to transfer your program and data quickly.
There are various options on the table, you can try NFS, or SSHFS but they slightly more difficult to set up. Instead we will simply use the scp command.
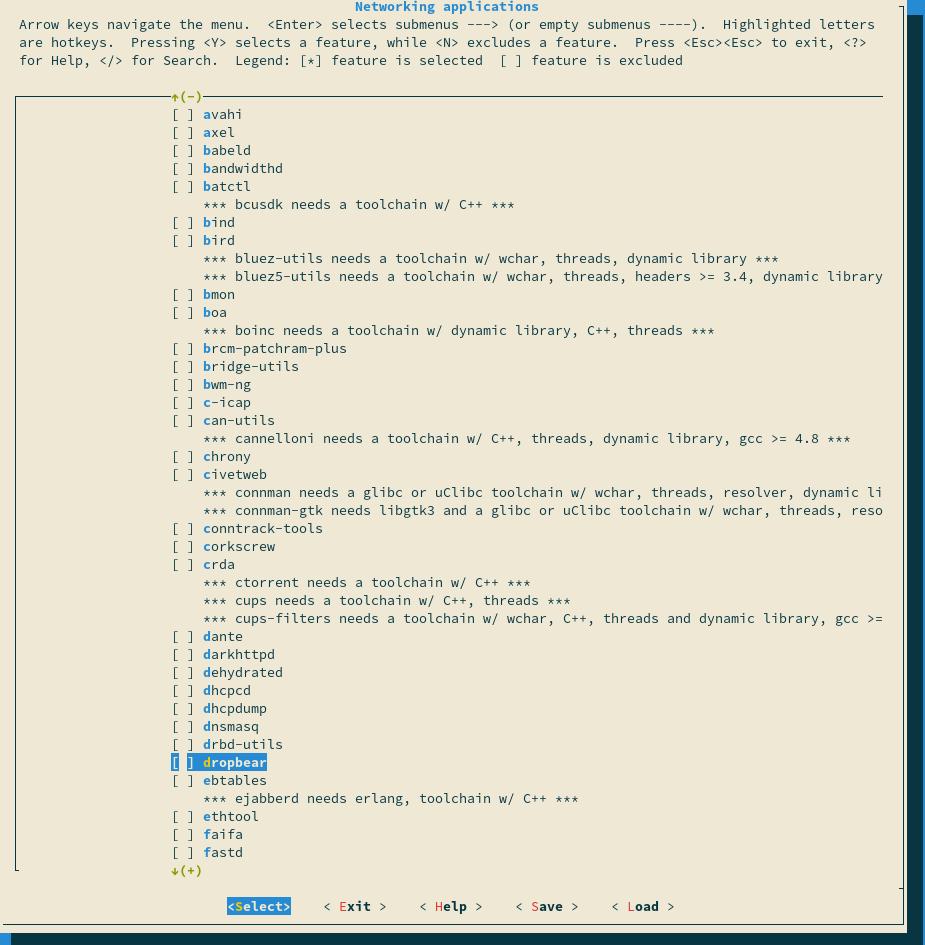
How to Install an ssh server on your embedded system? Again, use Buildroot’s configuration tool: make menuconfig. Now you can look for dropbear, a small ssh server designed for embedded systems. You will find it in “target packages/Networking applications/dropbear”:
To use ssh we need to make the network functional. The easiest way to do this is by using Ethernet. If you don’t have an Ethernet port on you board you can use Wi-Fi with wpa-supplicant instead. We can tell Buildroot to ensure the default network interface gets an IP address by DHCP in the “System configuration/Network interfaces to configure through DHCP” menu:
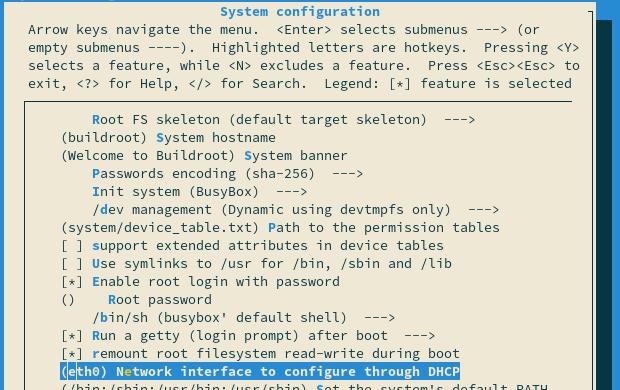
Enter the name of the default network interface there. Often it is eth0.
Now you can exit Buildroot menu, save the configuration and run make to build dropbear and re-generate your whole rootfs. After this, flash the SD card and boot the system. It will get an IP address from your DHCP server and dropbear will be started. Note the IP address of your this interface:
ip address show eth0Now, all we have to do is transfer the executable file to the embedded system. On your PC run:
scp my_program root@IP_ADDRESS:/rootBack on your embedded system you should now be able to execute your program:
cd /root
./myprogram
How to go further with embedded Linux development
Embedded Linux development is a vast field of expertise. It takes years for embedded Linux experts to master it.
Please note that this document does not mention security. And of course it would not be the best idea to run everything as the root user or to install dropbear on the final product!
Nevertheless, we hope this article give you some of the keys you needed. Depending on your needs we suggest you to read our other blog articles, about embedded systems upgrades or on how you should select the hardware to ensure great hardware/software integration.
Let us know what you think in the comment section. We seek to improve our tutorials so any remark is welcome.
2 responses