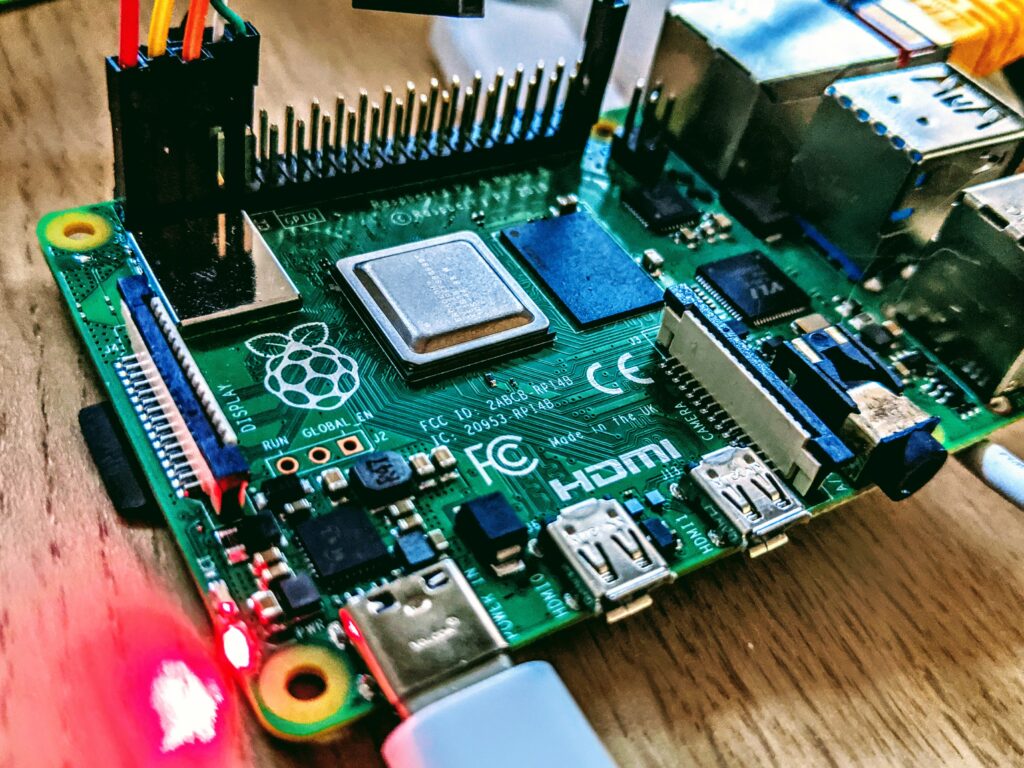
I recently completed the Proof of Concept for a client project using embedded Linux. In this context, I used the I2C bus of my new Raspberry-Pi 4. Unfortunately the i2c bus was not functional by default. Here is how to activate it and use it with Buildroot, the procedure is very similar under Raspbian :

Configuring the firmware of the Raspberry-Pi 4 to enable the i2c bus
By default all non-essential buses (i2c, SPI, etc) are disabled on the Raspberry-Pi. You must first configure your firmware to enable the i2c-1 bus via the config.txt file.
This file is present on the boot partition of the SD card, but the most efficient way is to activate it directly in the rpi-firmware package in buildroot. To do this, edit the file package/rpi-firmware/config.txt from the buildroot source folder and add this line to it.
dtparam=i2c1=onOn Raspbian, you will find this file directly in /boot/config.txt. You can simply make the change, reboot and go to the next step.
The config.txt file is the equivalent of the BIOS on a PC. It allows you to configure the system.
Now you need to recompile the rpi-firmware package:
make rpi-firmware-rebuildThen, you need to regenerate your Raspberry-pi’s micro-sd card image:
makeNow you can (re)flash the firmware on the map and start the Raspberry-pi 4
Manually add missing modules for the i2c bus
The Processor of the Raspberry-Pi 4 is a Broadcom 2711, it reuses a number of modules that were already present in older versions of the SoC (System on Chip, multifunction processor), including the bcm2835. For this reason you can load the following modules. By default the necessary modules are present on the system, so you just have to start them manually:
modprobe i2c-bcm2835
modprobe i2c-dev
[   37.740438] i2c /dev entries driver
Now you should find the i2c-1 bus in /dev:
 ls -la /dev/i2c-1
crw-------    1 root     root       89,   1 Jan 18 15:19 /dev/i2c-1
The i2c-1 bus is now usable, it has the necessary functions to use your I2C peripherals, but also for SMBus (the ancestor of i2C):
# i2cdetect -F 1
Functionalities implemented by bus #1
I2C                              yes
SMBus quick command              yes
SMBus send byte                  yes
SMBus receive byte               yes
SMBus write byte                 yes
SMBus read byte                  yes
SMBus write word                 yes
SMBus read word                  yes
SMBus process call               yes
SMBus block write                yes
SMBus block read                 no
SMBus block process call         no
SMBus PEC                        yes
I2C block write                  yes
I2C block read                   yes
Thank you for this article. I was using dtparam=i2c_arm=on in the config file, which prevented the bus from showing up. It works now!
Glad to see it helped you !
Or on the PI 4 just use the desktop raspberry icon to open “Preferences”, then “Raspberry Pi Configuration”, and select the “Interfaces” tab, then click enable for the I2C. All GUI. All done. Very unUnix. Editing files is some much more fun (and dangerous).
Hi Jon,
You raise a good point, your method is perfectly valid. However, don’t forget that many users don’t connect any screen to their Raspberry-Pi (personally I never used the Raspbian OS desktop). Often we use the Pi more as an embedded system and less as an PC replacement.
Also it is easier to transfer configuration files between devices instead of re-configuring each device from a GUI. Its not risky if you read the documentation, even if for novices it’s not so easy to fry a device or even lose data.